Part 1 in this two-part series explored what inspired me to start gardening on my rooftop and my journey from being a consumer to becoming an avid terrace gardener. It also covered the basics for getting started with gardening.
In Part 2, I will outline a detailed guide about Square Foot Gardening.
The method
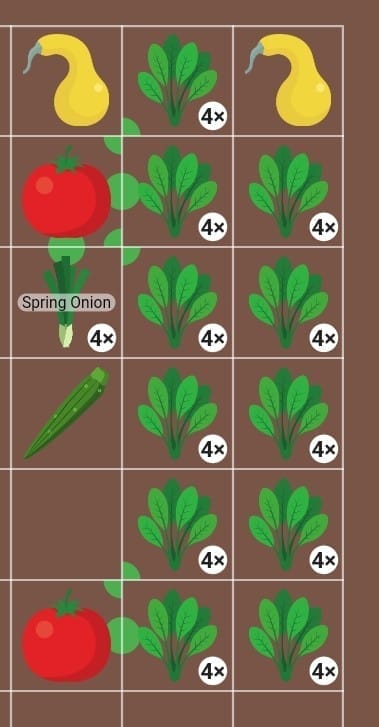
Square Foot Gardening is a method where you divide your growing space into blocks of 1 square feet
- Divide your space: In square foot gardening, you divide your growing space into 1-square-foot blocks. Each block is dedicated to a specific crop
- Plant density: Depending on the plant, you will grow a certain number of plants in each square foot. For example:
- Spinach (palak): 9 plants per square foot
- Dill: 4 plants per square foot
- Tomato: 1 plant per square foot
- Staggered planting: To ensure a continuous harvest, stagger the planting times. This means having plants in different growth phases simultaneously. For instance:
- One plant is mature and ready for harvest
- Another is developing
- A third is just germinating
- Ideal growing season: Time your planting to match the ideal growing season for each crop
- Trial and error: Beginners may need to experiment with timing, considering each plant’s life cycle and peak harvest period
- Diverse garden: Aim for diversity in your garden. Include flowering plants, herbs, medicinal plants, greens, and vegetables. This not only deters pests but also enhances the garden’s beauty.
Remember, square foot gardening allows efficient use of space and promotes a bountiful harvest!

Efficient growing technique/ optimising vegetable produce
Here are some methods I use while planning my garden in general but especially whilst growing annual vegetables like spinach, beetroots, bitter gourd etc :
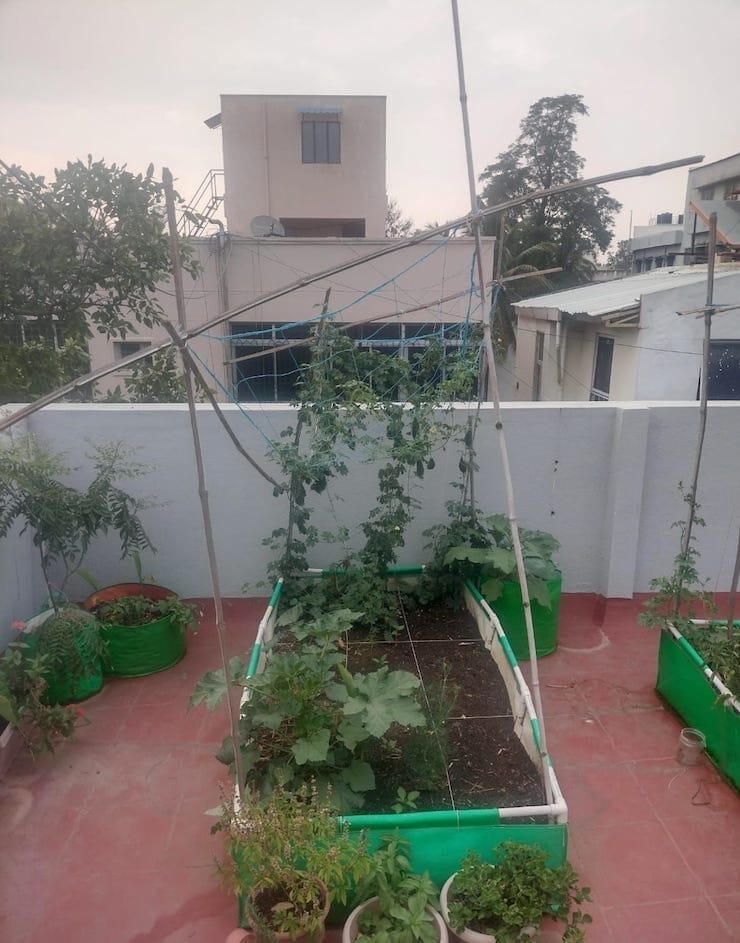
- Use big rectangular grow bags as it provides roots with space to explore, which helps interplanting and watering due to moisture holding capacity.
- Depending on the budget, you can use HDPE/Geofabric grow bags, bricks or wooden crates.
- Terrace gardening: Waterproofing is a must to avoid leakages. Geofabric lining of the wooden crates also helps avoid soil erosion.
- Using coconut husks or coir at the bottom of grow bags or pots can be beneficial for your plants; this helps with water retention, drainage and reduces soil volume and weight.
- We would need a good growing medium, with good moisture holding capacity as well as good porosity while being rich in nutrients.

Read more: Alexa, water the plants! How this techie rigged a remote controlled garden watering system
Soil composition tips
When preparing a grow bag for your plants, the right mix of soil components is crucial. Let’s break down the recommended mix based on your ratios:
- For a 6 feet by 3 feet grow bag : 200 kg red soil, 100 kg cocopeat, 150 kg compost and 50 kg neem powder.
- Soil components: Red soil: cocopeat: compost: neem cake in the ratio of 3:3:3:1 by volume.
- Individual round grow bags:
- greens need 6 inch depth grow bags
- Ideal for mints or perennials
- Normal annuals like cucumbers, tomato etc. which last for around 4 months will do well in 1 foot deep grow bags
- Perennials like ivy gourd, brinjals etc that last more than one growing season do well in 18 inch above grow bags
- Grow the soil along with the vegetables and avoid as much external input such as vermicompost as possible. Sustainable soil health relies on fostering earthworm populations and promoting increased microbial activity. Without these foundational elements, relying solely on external inputs may not be a viable long-term solution.
Home composting would be an ideal solution to managing waste and for healthy organic plants.

Costing
To set up a 6×3 garden, here is an estimated budget breakdown:
- Growing medium (6×3): Approximately Rs. 6,000
- Grow bags: Additional Rs. 2,000
- Wooden crates in place of grow bags: Slightly higher cost. Geofabric lining materials to hold the soil in place would be required and the wood would need to be coated with linseed oil to prevent damage to the wood
In total, you can create your 6×3 garden within a Rs. 8,000 budget.
Read more: How a Bengaluru apartment created a ‘food forest’
Optimising sunlight exposure
When planning your garden, understanding the sun’s path is crucial. Here are some tips to help you make the most of sunlight:
- Observe the sun’s path:
- While we know the sun generally rises in the east and sets in the west, its exact path can vary slightly based on your location and the time of year.
- Take note of where the sun rises and sets throughout the day. This will help you identify sunny spots and areas with shade.
- Choosing the right spot:
- Aim for a location that receives at least 6 hours of direct sunlight each day. This is essential for most plants to thrive.
- Avoid areas with intense afternoon sun, especially during hot summers. Morning sunlight is usually gentler.
- If possible, steer clear of evening rays, as they can be harsh on delicate plants.
- Garden bed alignment:
- Consider aligning your garden beds in a north-south direction. This way, each bed can provide shade to the adjacent one when needed.
- North-south alignment ensures even sunlight exposure across your garden.

Planting tips
- These days free software tools such as “planters” are available which help plan garden layouts and optimise planting.
- Plant small leafy greens on the east side of the bed and the bigger plants on the west.
- In the summer, consider training gourds to trellis from the northern side of the bed. This positioning allows them to receive optimal sunlight exposure while avoiding harsh afternoon rays.
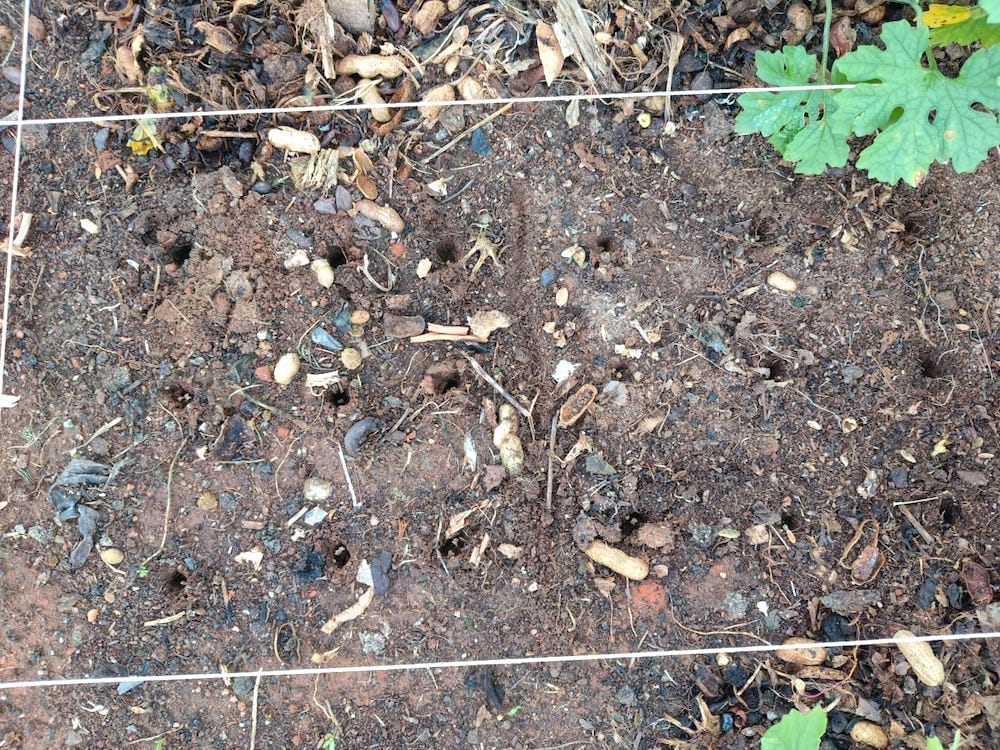
- After positioning the beds and filling them with growing medium, consider mulching the top surface generously. Mulching serves two important purposes: It suppresses the growth of unwanted plants and minimises water requirements. When sowing seeds, gently shift the mulch aside and then proceed with planting.
- Opt for native open pollinated seeds than treated hybrid seeds for better taste, nutrition and the best part is you can also begin to save seeds
- When sowing, stagger your greens in 2-square-foot spaces each week. This way, you will have a continuous supply of fresh greens throughout the week.
Keep an eye out for unexpected plants, especially when using homemade compost. Until you know the seed’s origin, it is best not to invest time and energy in plants that spontaneously emerge. As a cautionary tale, I once grew a tomato plant from compost, and while it grew vigorously, it produced few flowers and even fewer tomatoes. So, as pragmatic as it may seem, prioritise the plants you intentionally planted, and remove any unplanned ones. You can uproot them and leave them on the bed’s surface—either as mulch or to return nutrients to the soil.

Harvesting
- Watering:
- Deep watering every three days is sufficient; avoid overwatering to prevent root rot
- Consider using moisture probes to monitor soil moisture levels
- For busy schedules, an online drip irrigation system with a timer can be helpful
- Avoid using a hose, as high water pressure can splash soil and expose roots, leading to disease
- Harvesting tips:
- Research each plant’s specific harvest time
- Harvest greens by picking individual leaves for multiple harvests
- Don’t let vegetables overripe on the plant to maintain production
- Regular harvesting encourages continued production
- At the end of a plant’s life cycle, leave roots in the soil for earthworms and insects
- Chop the above-ground part to create mulch for soil health
- Continuous gardening:
- Rotate crops to keep the garden productive
- As soon as a space becomes empty, sow new seeds
- Start small and learn:
- Begin with a manageable garden size
- Learn from both successes and failures
- Even small gardens can be highly productive
Very good information. We like to know more about vegetable gardening.
Thanks Balagopalan. Anything specific in mind when you say “more about vegetable gardening”.
Very comprehensive information,thank you Nikhil
Thanks Manish for your feedback. means a lot to me.
Very Valuable information, Nikhil. Thank you & God Bless. Is there a Video tutorial of this content, as that would be easier to visualize? If not, do you conduct any in-person tutorial or do you recommend one?
Hi Dinesh, Please do DM me on instagram @urban_khet. I do not have video tutorial but maybe we can talk.
Can you explain about companion planting.
Sure. I will try to write one up on that but there are plenty of details on the internet regarding companion planting. But i think a simpler version is what I am thinking off, like a general rule.
Very informative, please do share more updates and thank you Nikhil
yes I will write a few more series. Also i do keep posting somethings on instagram @urban_khet so you can add me there also.