With rising temperatures, unpredictable rainfall and extreme weather patterns becoming the norm over the last two decades, climate change has emerged as the single greatest threat to our species’ survival on our planet. In the coming decade, called the #GenerationRestoration by the UN, several individuals and organisations will do their best to alleviate the climate change crisis. Amongst a range of actions out there, micro forests are emerging as one of the most popular, decentralised and effective ways to fight climate change.
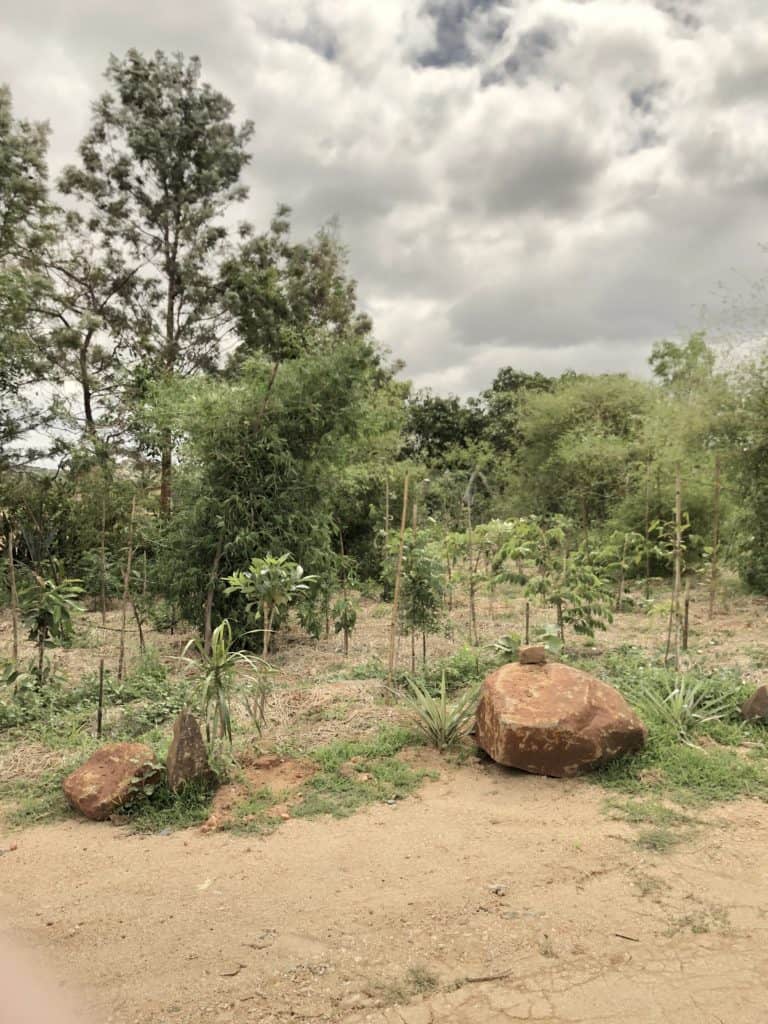
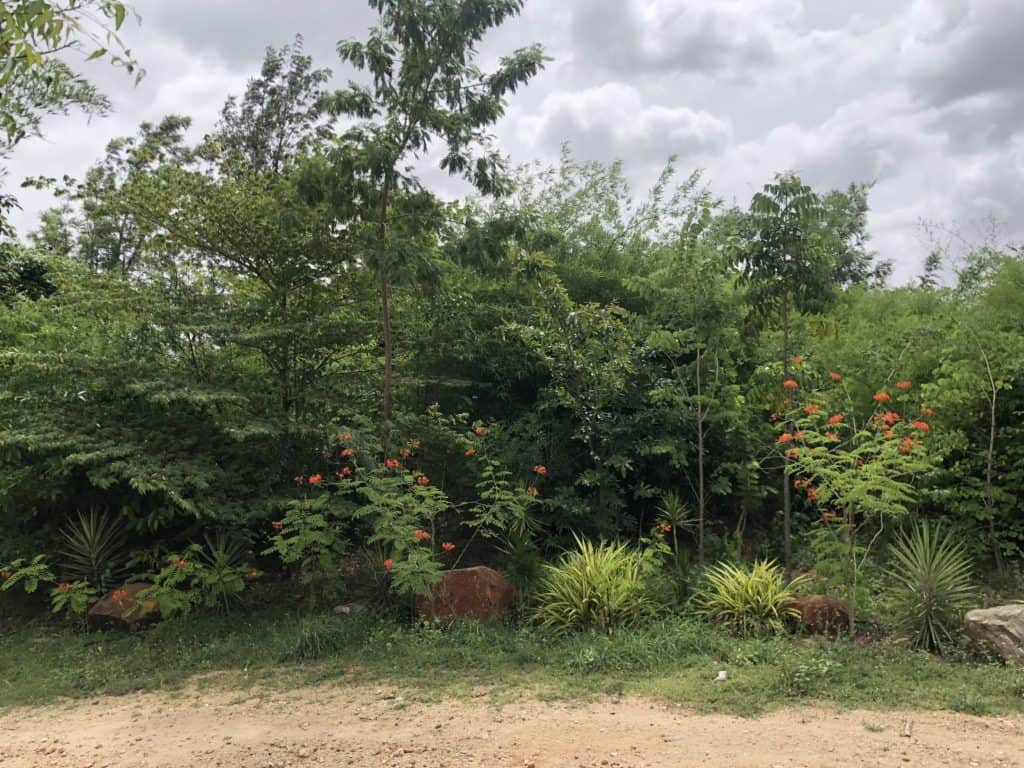
Micro forests, or Miyawaki forests, are small forests in urban settings. What differentiates them from other conventional landscapes and plantings is that they are in a sense microcosms of forests – the same variety and proportion of species found in local forests is planted. Also, the saplings are planted close to each other (2-3 feet apart), creating a very dense environment as they grow. There really isn’t a minimum area requirement, but an area above 200 square feet would help foster a symbiotic environment for these saplings. Micro forests can be self-sustaining within 3-5 years, requiring little to no intervention afterwards.
Apart from the macro-level climate change benefits, micro forests also have several immediate impacts. They help purify the air, help groundwater recharge, and serve as important “edge habitats” that provide a space for the life that was displaced – birds, butterflies and other creatures that called the space home before people moved in.
Read more: How a Bengaluru apartment created a ‘food forest’
At the residential community Vanantara, we have planted 10 micro forests within the larger canopy of a conventional forest; altogether, the space is home to about 40,000 trees. This helps balance the speed and intensity of the community’s afforestation efforts.
With the monsoon still on us, it’s still a good time to plant, and forethought is your friend. Following are some pointers that helped us over the years. These are suitable for apartment complexes and independent houses with limited open space as well.
Step 1: Identifying your space
The most important thing to ensure is that the space is one you can monitor easily and at frequent intervals. Often, one’s involvement is all that’s needed for the space to thrive. In urban settings, an important consideration is ensuring that the planting area isn’t susceptible to damage from factors like stray cattle or debris.
It’s also essential to determine how close the planting zone is to any built structure such as a building or compound wall, since the root structures of trees often mimic the canopy. While the plantings could stretch over decades, as a rule of thumb, the closer you are to a built structure, smaller should be the size of tree/shrub, to avoid damage in future.
That apart, some sunlight and a water source will be all you need.

Step 2: Soil preparation
The second step, once you decide on the space, is to nourish the soil. Most soil in cities is inert and lacks healthy microbial life. So, to make a pro-mix, to three parts of soil, you could add one part of farm yard manure, one part cocopeat and one part rice husk. The manure will help nurture plants, cocopeat will hold and release water gradually, and rice husks will help in aeration and provide silica to the soil.
The composition can vary depending on the actual soil conditions, but feel free to play with the mix and work with the elements you have. You really can’t go wrong with this.
Read more: Unchecked tree loss is wiping out the Slender Loris from Bengaluru
Step 3: Tree selection
It all begins with observation. Look around you and identify the species thriving without much intervention – those are the ones ideal for your location.
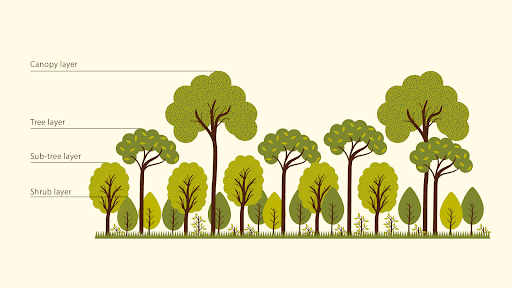
Forest structures change by region, but in general have four layers – canopy, tree, sub-tree and shrub. What changes in every region are the species and the proportion of each layer.

The micro forests that we’ve planted usually comprise 70 species. However, to simplify selection for anyone who wants to take immediate action, here are a couple of tree species that we plant in each category.
- Canopy – Wild Jackfruit | Native Mango
- Tree – Peepal | Banyan
- Sub-tree – Singapore Cherry | Drumstick
- Shrub: Peacock flower | Pomegranate
Step 4: Planting and protecting young saplings
After planting, put up stakes for each sapling, to help support them against the winds. Be generous with the mulch – ½ inch to 1 inch will suffice.
Step 5: Frequency of watering and nourishing
The first year following planting is very important in the life of a young tree, so try to water at least 2-3 times a week; you can taper off after the first year.
Again, with all forms of nourishment, observation is key – watering, mulching and manuring are all great but try to judge the degree and necessity. The larger the planting area, the larger the saplings’ strength in numbers, and lesser the human intervention required.

In conclusion, and perhaps most importantly, micro forests are an artificial phenomenon, unique for a point in time where we find ourselves. They cannot and should not ever compete with conventional forests either on land or in our minds. They serve a much better alternative to conventional urban landscapes and lawns, and that’s the lens we should view them through.
I hope this note serves as a simple planting guide that gets you started on your own planting journey, and gives you the joy of watching an ecosystem you helped nurture thrive.