It was the summer of 2014 when my family had planned a 3-day trip out of Bengaluru. Everyone was almost done with packing when we realised that we needed to find somebody to water the plants. Unfortunately, we could not find anybody who was free to pitch in. It was then that a bulb lit up over my father’s head and it was decided that we would set up a simple drip irrigation system that would water our plants. In less than four hours, the required materials were bought and we took off for our holiday, confident that our plants would be well-tended to. Today, almost a year later, the system continues to provide much-needed water for our plants, and with very little maintenance too.
Here’s how you can set up one for your home garden.
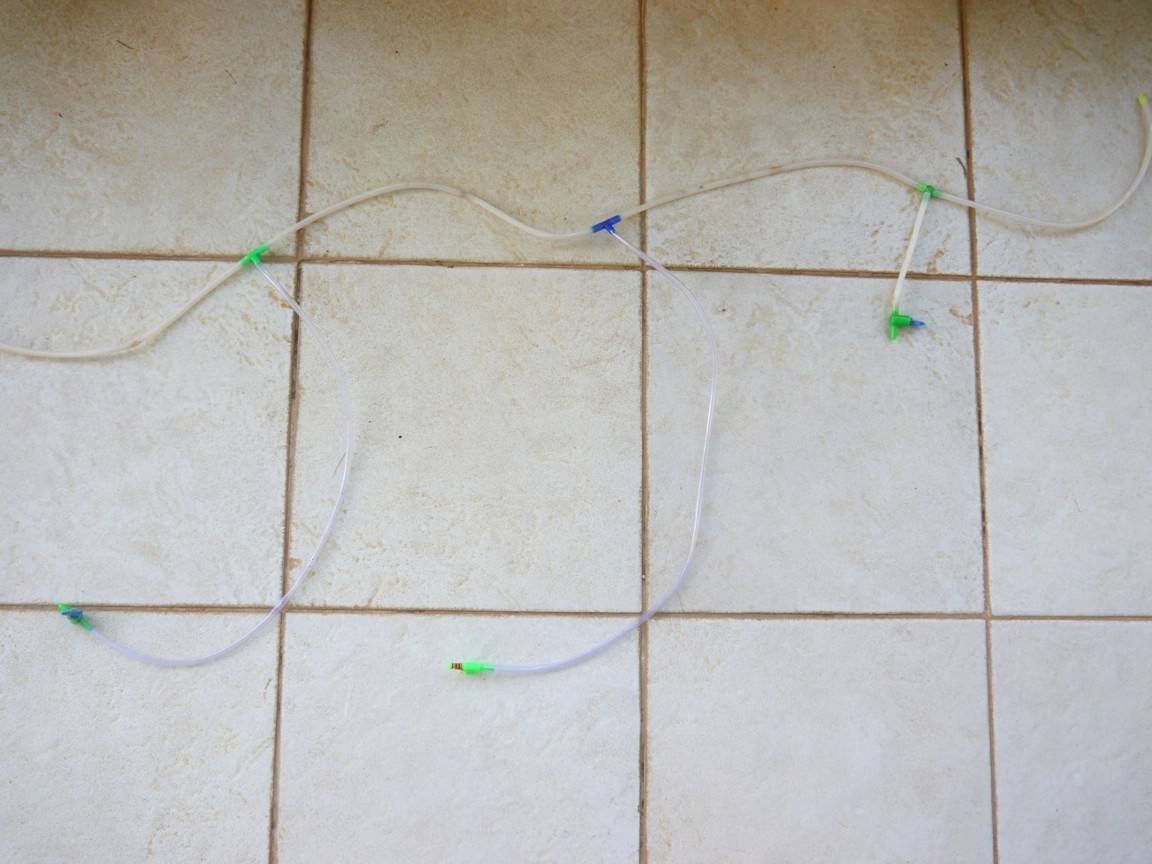
Materials required
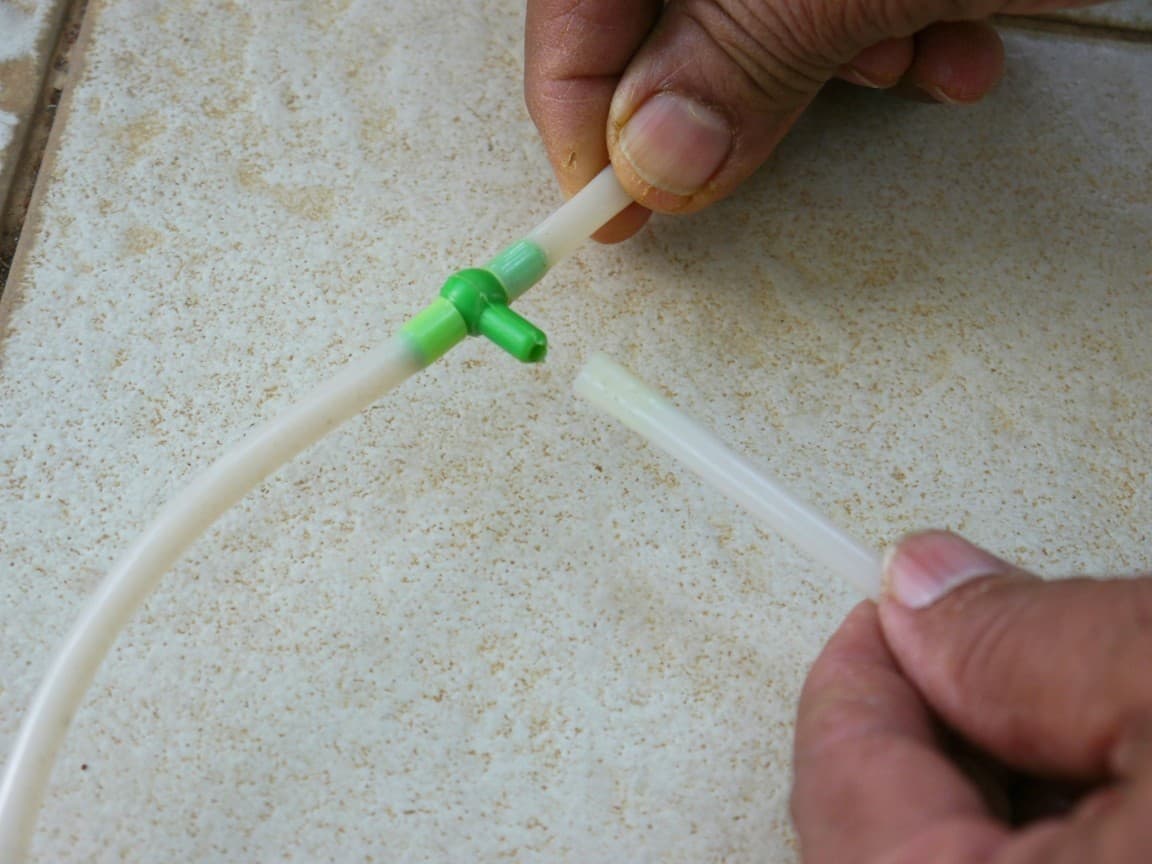
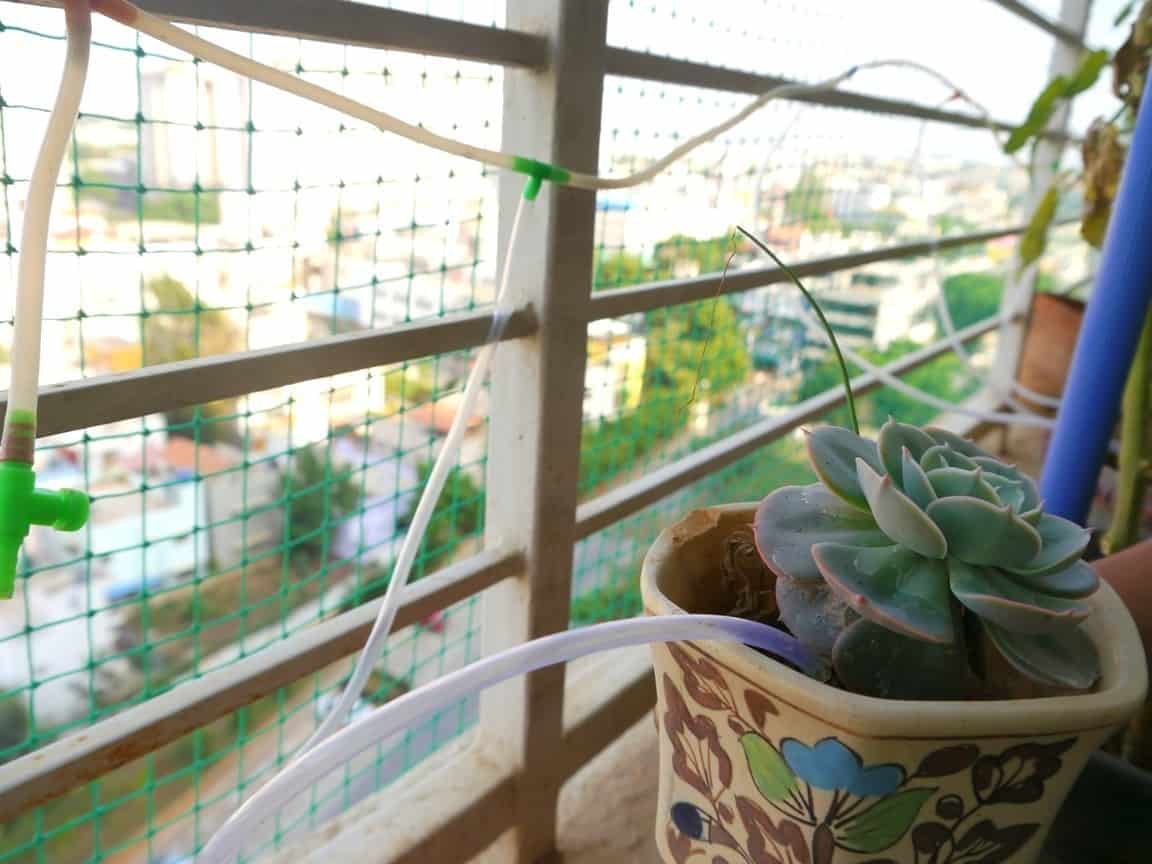
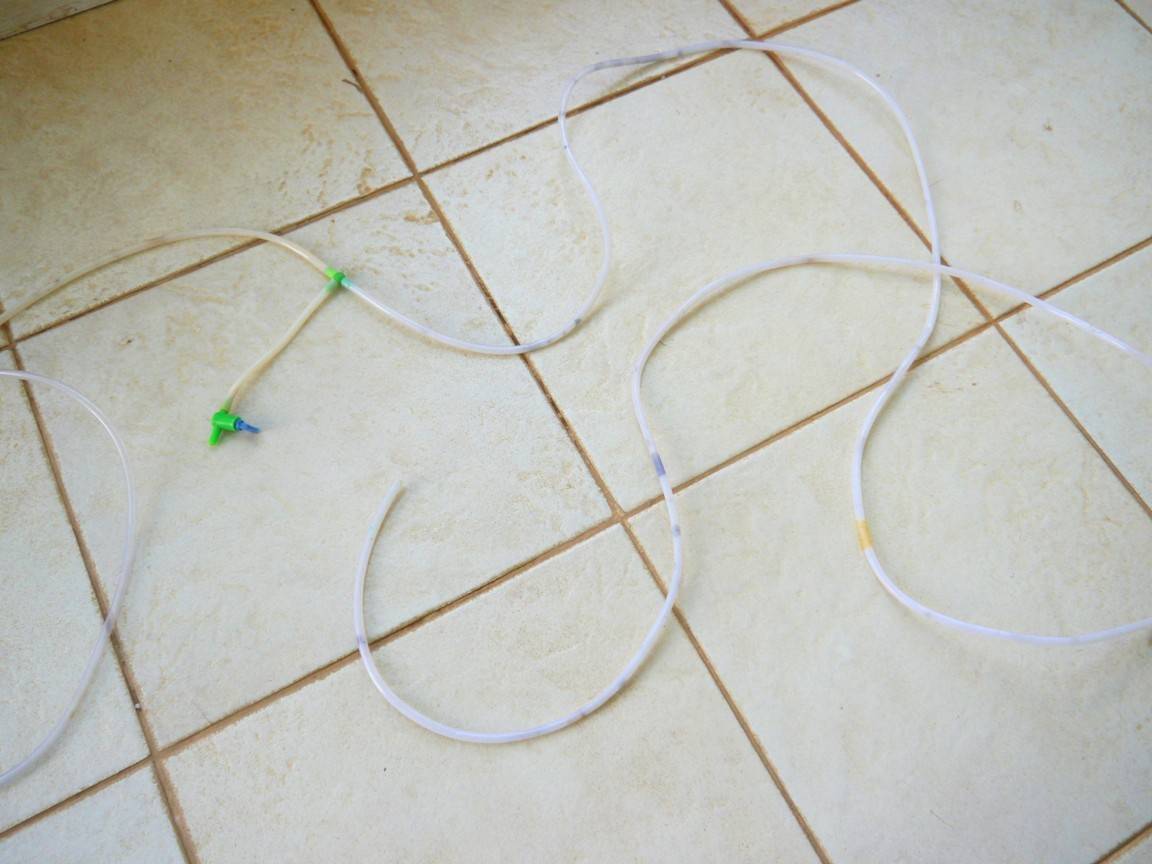
1) Aquarium airline tubing
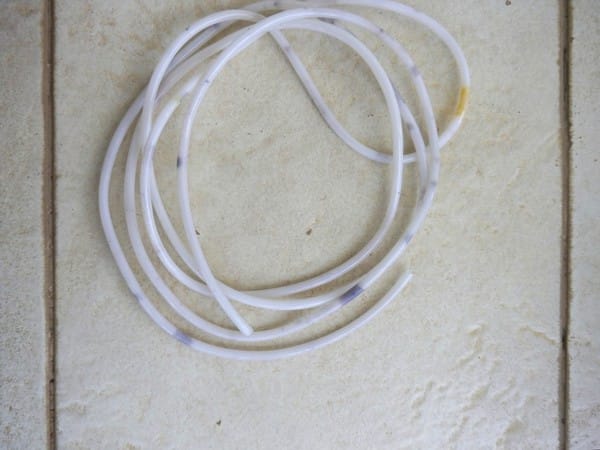
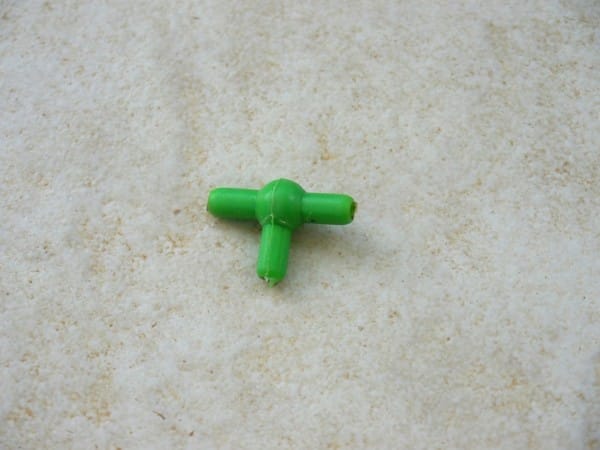
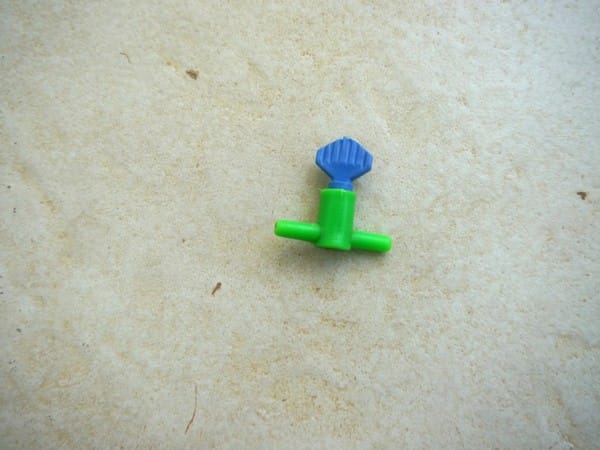
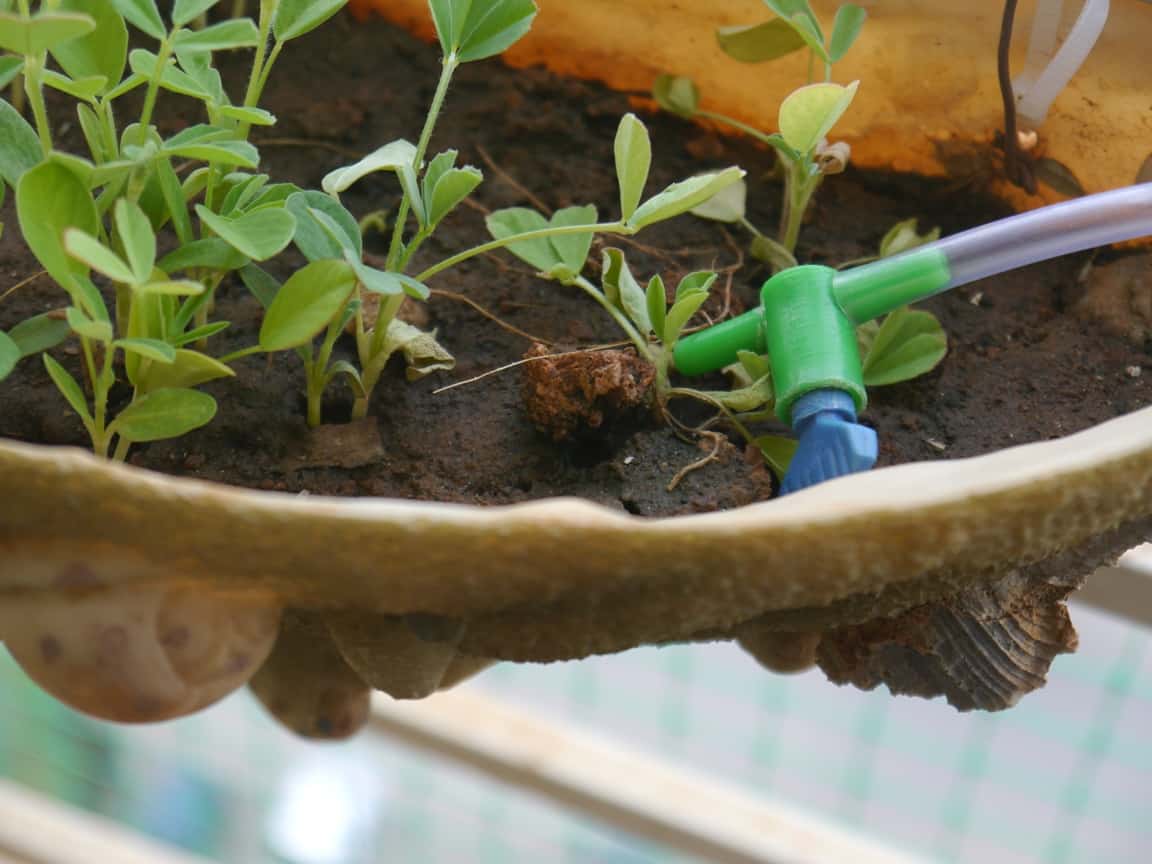
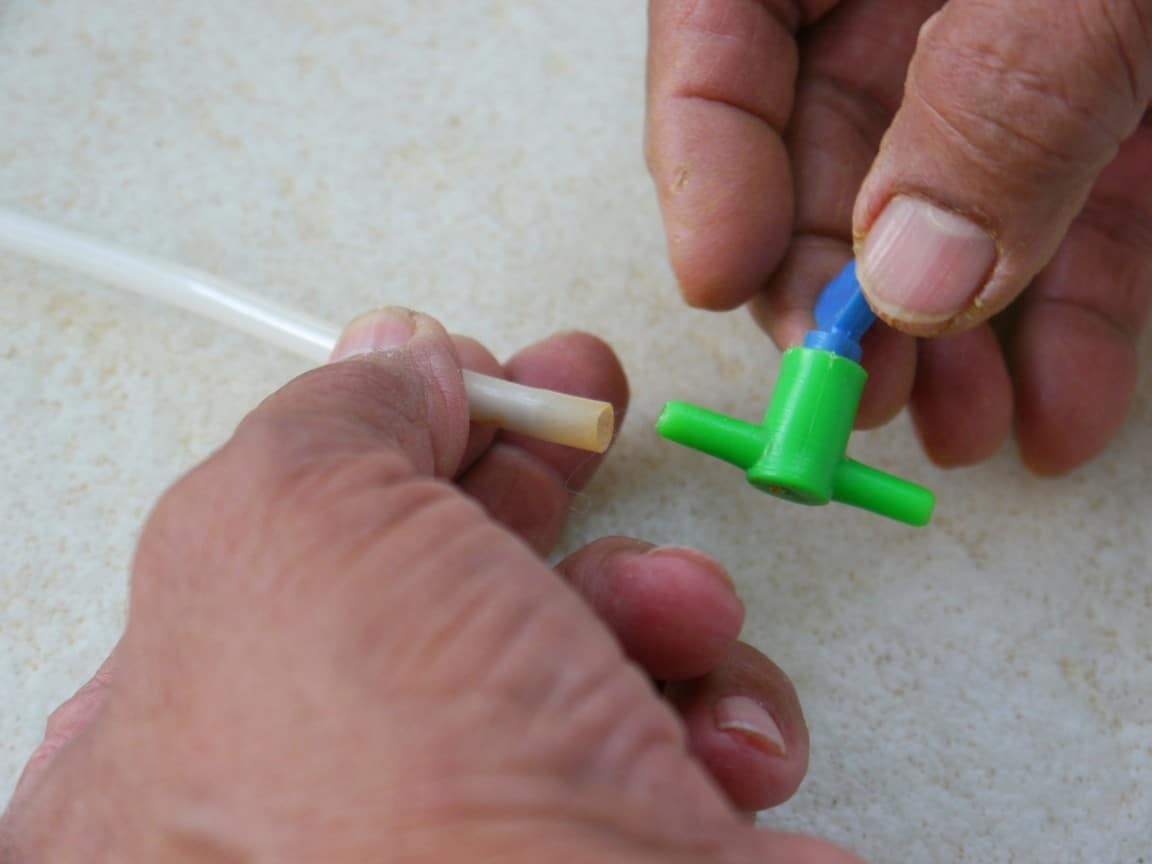
2) ‘T’ connector/joint 3) Valve connector/joint
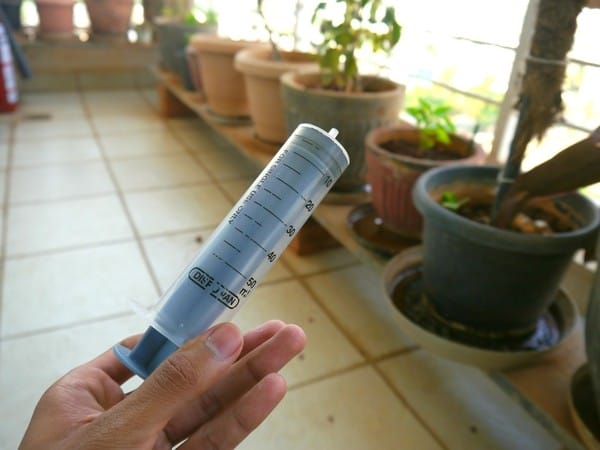
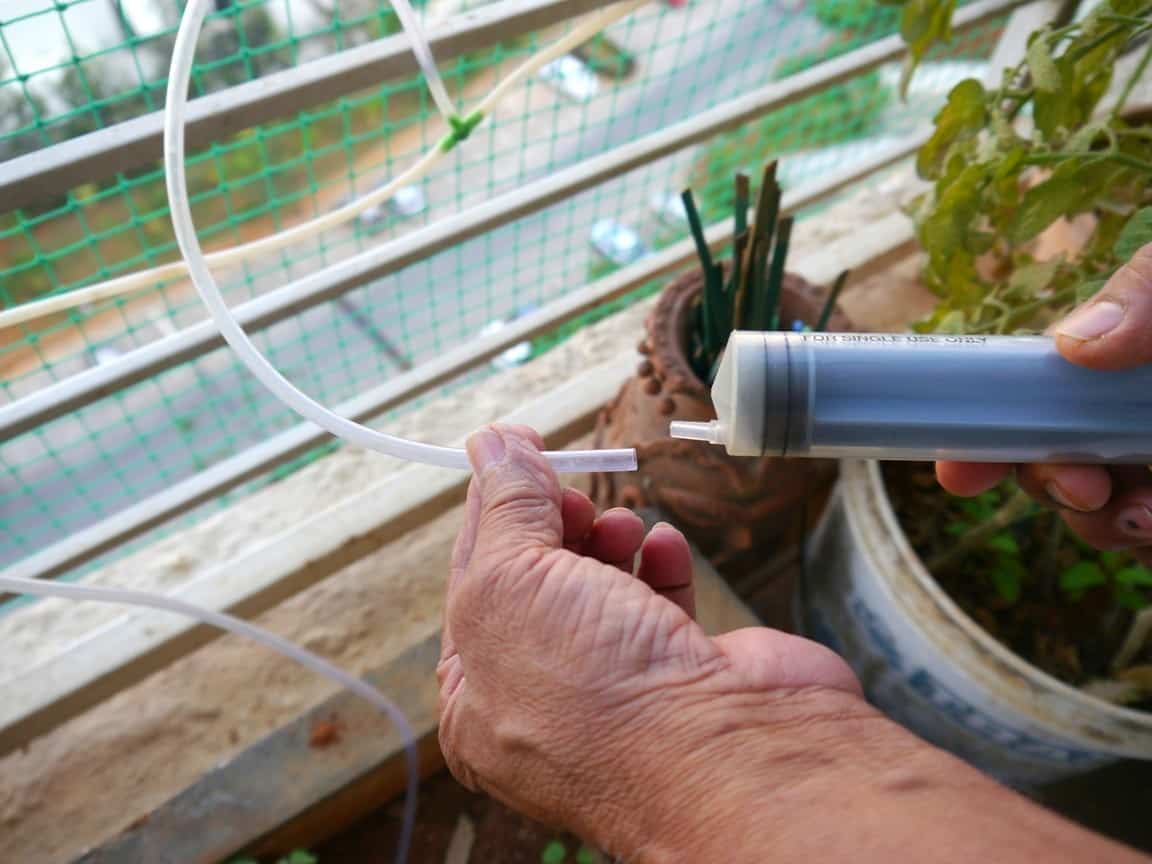
4) A big syringe without the needle
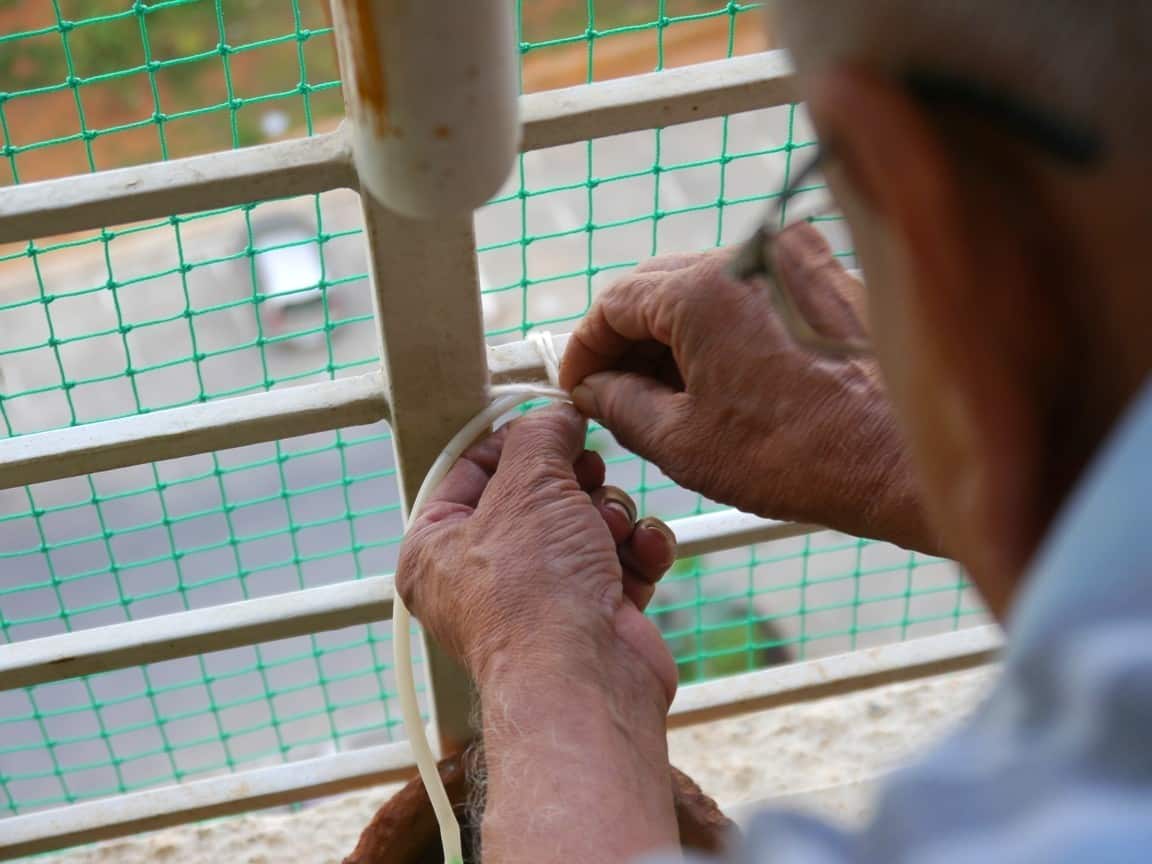
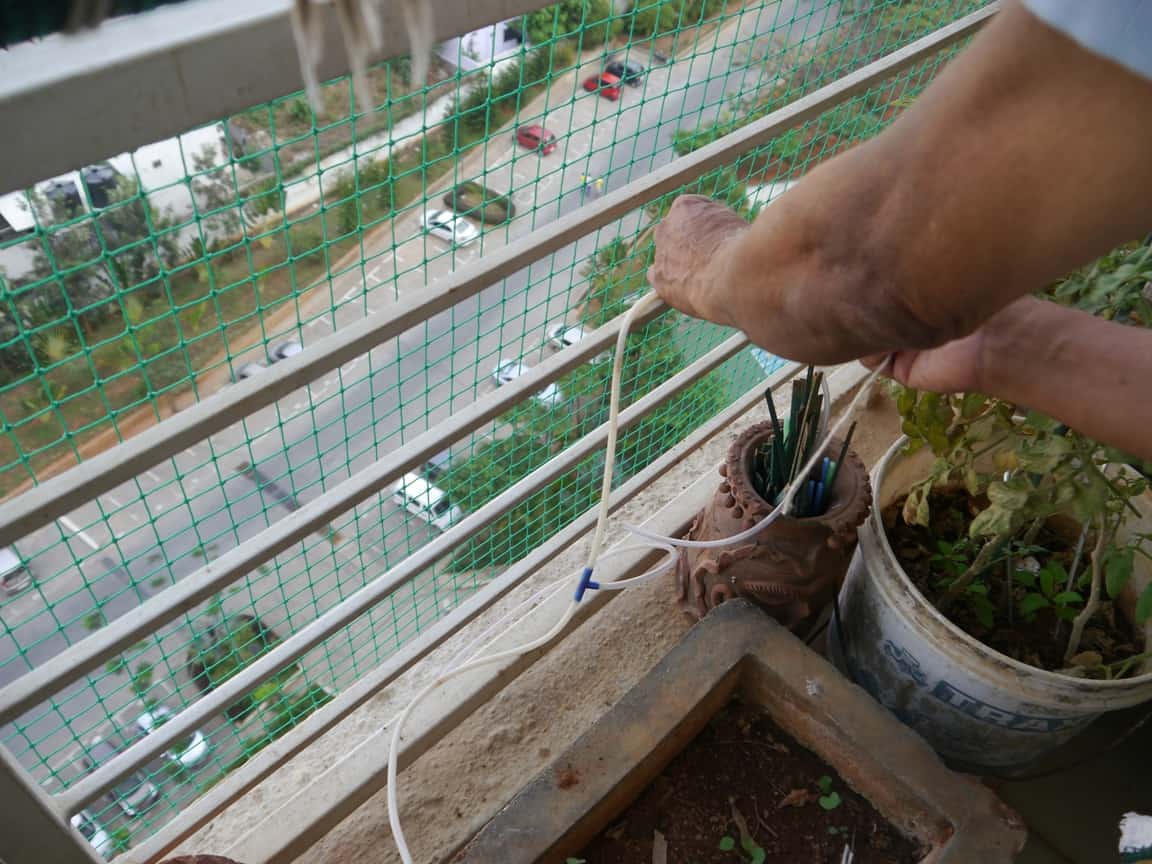
Steps to set up the watering system
$(document).ready(function(){ $(‘.carousel .carousel-inner .item’).first().attr(‘class’, ‘active item’);});
Please note:
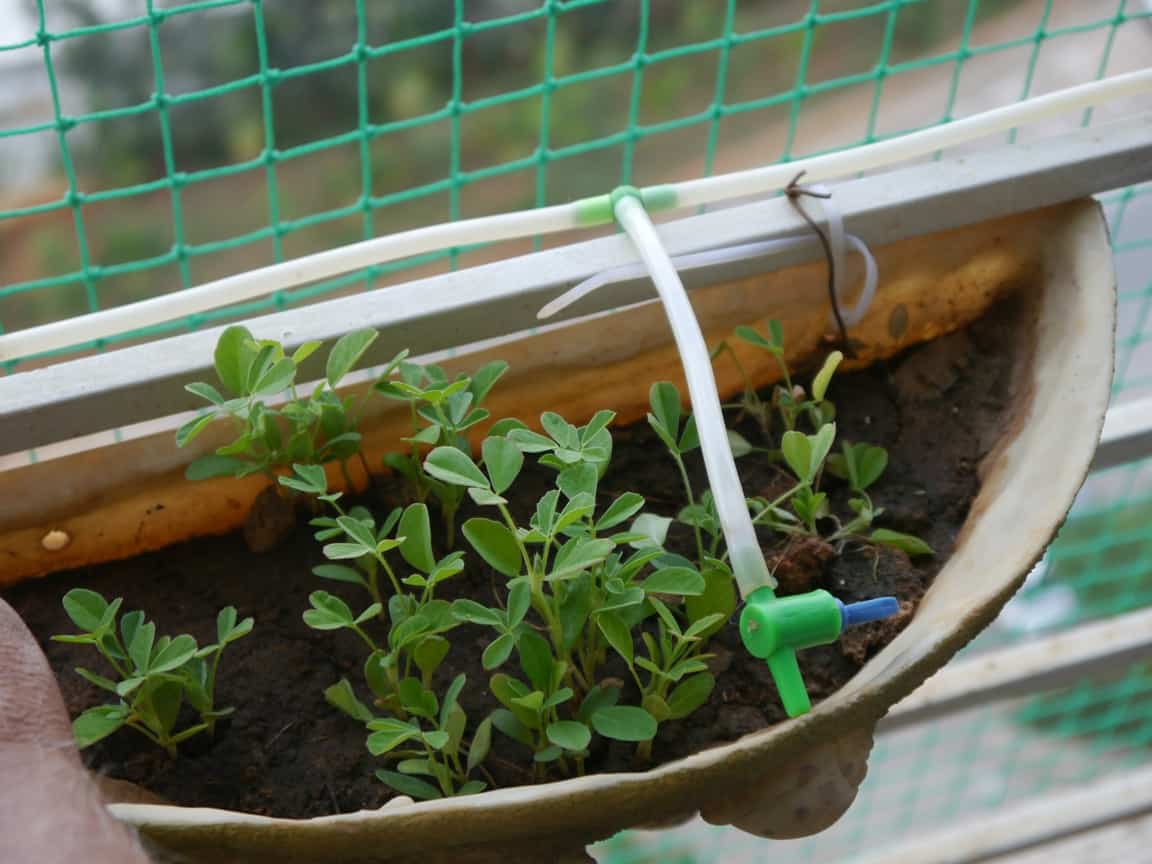
- The system uses gravity as a water pump and it is therefore imperative that your water source is placed at a higher level than your plants.
- Once the water is continuously flowing, you can adjust the valves till only drops of water exit them at a slow pace.
- Do place a lid on the bucket/tub to prevent loss of water through evaporation.
Benefits of a drip irrigation system
- Good for the plant: Prevents nutrient run-off and maintains the health of the soil. The long and continuous watering provides the ideal conditions for the growth of the plant.
- Saves water: Actual reduction of 30%, from 15 litres per day to 9 to 10 litres per day in summer.
- Convenient: There is no need to water your plants directly everyday. All you have to do is refill the bucket of water, when it is almost empty.
Have you tried installing a similar system at your home? Do share your knowledge of the process. If you are planning to set up a similar system at your home, do share your feedback once it’s up and running.
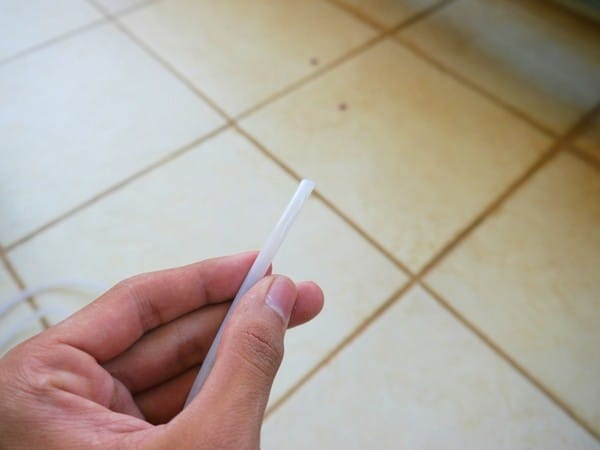



Simpler solution – I use thin ropes or 5 mm wide cloth tape (nada), instead of tubes. (You may need to size the rope/nada for the proper flow rate (in which case your solution may turn out to be simpler as you can simply use the valve).
Extremely effective for many with plants in their balcony ….. which should cover a great % of Urbanites ….
Great job in explaining the system in detail and sharing it …. (y) ….
Come to think of it – why only when we go on a vacation ???? Why not on a daily basis ??? Saves water in huge quantities … !!
Hope many replicate … Save their plants and Save water too …. 🙂
The difficulty arises, if the duration of the vacation is longer or the number of plants are higher … !!!
How do we top up the Bucket of Water / or the Storage Tank … ??
This has been bugging me for the last year or so … 🙁
Where in Bangalore can I buy the T-connectors and the valve-connectors?
Any fairly big Aquarium Shop would provide you with these connectors, Mr. Saha …
They are normally green or pink in colour … !!!
Thank you for the useful idea and the detailed post….Really it helped my plants(15 of them) to be alive after our 5 day vacation this December.
Tried maintaining the same setup for two months till now…
Two main issues I faced…
1 . Accessing the right amount of water to be allowed to drip : Even if I set to a desirable water flow on monitoring the flow for a while, the flow rate seems to change over time; have seen some of them even stopping to drip. Not sure how to fix it.
2. Its been close to 2 months now and I could see green mould developing in the water storage container this week. They have almost blocked the water passage thru the tubes. Wondering how to solve this issue 🙁
I read in the post that you have maintained it close to an year. Any idea on how to solve these???